Installation
Standard Installation
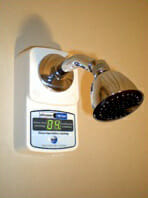
The controller is mounted anywhere near the shower at around eye level for visual and acoustic efficiency. The solenoid valve is cut in to the ‘riser pipe’ between the taps or mixer and the shower outlet. This requires the services of a plumber.
Economy Model
This product can be installed by a handyman. It is not necessary to interfere with electrical wiring or plumbing; therefore you do not need licensed tradesmen.
You may need to cut back the shower outlet pipe and you will need a power point in the ceiling or in an adjoining room. If there is an exhaust fan in the ceiling, it will usually plug in to a nearby power socket. A “piggy back” plug and a lead from this socket to within one metre from the shower will do the job (see the note with programming instructions). This arrangement requires the fan to be switched on in order to have a shower.
Should you choose to employ an electrician, he or she can do all that is required to complete the installation. You will not need two tradesmen.
Heavy Duty Model
Similar to Economy but the power should be permanently connected so you will need an electrician to provide a power point for each shower.
Detailed installation instructions come with every shower timer.
Step by Step Retrofit
Remove the shower from the wall outlet.
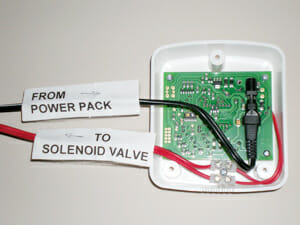
Screw on the solenoid valve and plug wire leads on to the valve.
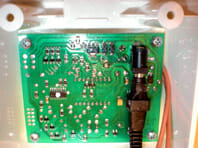
Plug in the power pack and run the low voltage lead to the shower timer, plug in to the electronic circuit board.
Slip the box over the valve:

Screw the shower on to the solenoid valve: